

How to set the camera and lighting in Blender?
The Object is created using cube in Blender.
- Base plane should be created because it is transparent with no ground plane in this case depth of shadow will not be seen clearly
- Add-Mesh- Plane
- Scale to the extent as shown so can not see the transparent background.


Add camera press Shift+A and select camera.

Once you press this you will be able to see this on screen. This is nothing but we are viewing through the camera.

Should not move the camera using mouse presently if it is done you will come out of the camera.


Now Select the –Camera- from scene collection


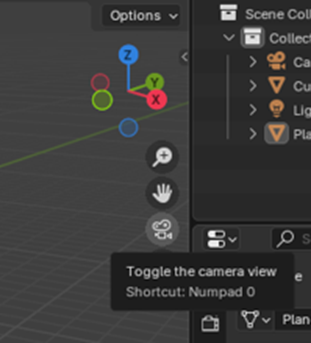
Now Click the - Toggle the camera view - to see the camera location and the object


Select View port shading
Under Render properties – Render Engine- Cycle

Move the Light location as per your desired location
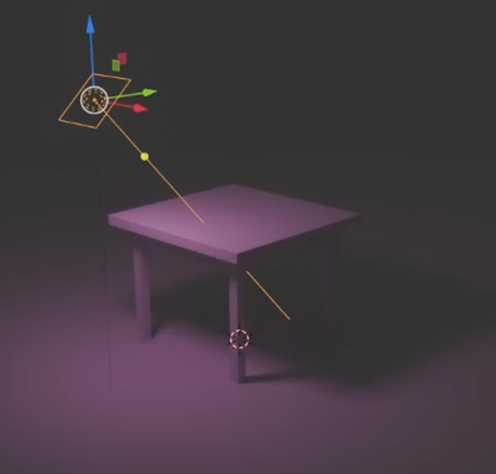
Select the light from Scene collection

Light icon- Object Data properties- shows all the properties of light
- Type of lights – Point, Sun, Spot & Area
- Power
- Shape
- Size and
- Color
Of the light can also be edited in the settings.

Select the Table / Cube from Scene collection

Material – Material properties- shows all the properties of Material
Add a new material

Base Color– Select the color

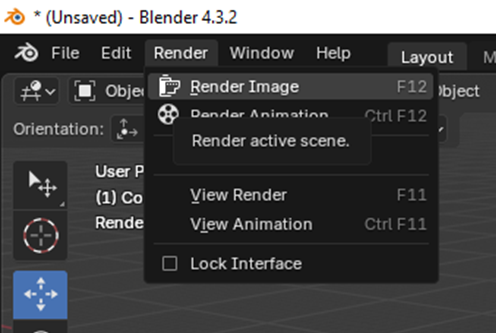
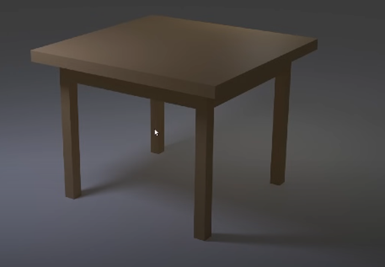
Render the image
- Click camera from scene collection
- Toggle camera view.
- Under Render- Render image (short cut key - F12)
0 Comments